
Commercial Print
- Rotary Printing
- Digital Printing
- Screen Printing
- Pad Printing
Rotary
-Offset Lithography
-Rotogravure
-Flexography
-Offset Lithography-

Offset Lithography works by transferring an image onto a printing plate, which is usually made from aluminium or stronger materials if it is a longer print run. Chemicals are applied to the plate so that only the areas that you need printing will accept the ink. Ink and water are then applied to the plate as it is rotated on the plate cylinder, the inky image is then transferred to the blanket cylinder which turns and applies the image to the paper. This process is called 'offset' lithography because blanket cylinder stops the paper and printing plate from touching.
The paper will go through the process shown above for every colour that needs to be applied.
This video explains the process at about 2 minutes in:
Lithography works quickly and efficiently; one machine could produce 10,000 double sided, full colour fliers in about 3 hours.
Main uses:
- Magazines
- Brochures & Catalogue
- Direct mail
- Newspapers
- Business forms
- Financial and legal documents
- Fliers
- Leaflets
- Business cards

-Rotogravure-

Opposing offset lithography, the impression of the artwork used in gravure come in direct contact with the stock being used. The image is engraved into metal cylinders, as opposed to plates- usually a more durable material, like copper, rather than the thin aluminium used in Offset litho- which will stay useable for longer print runs.
The printing plate is directly lowered into a tub of ink, it then rotates and a doctor blade takes away any excess ink and returns it to the tub, meanwhile a rubber impression roller carries the stock around onto the printing plate which transfers the ink from the plates onto the stock.
The stock then goes through a dryer and onto the next rollers for an application of a different colour or varnish.
Rotogravure is suitable for longer print runs because the plates are made of a more durable material (copper). Bank notes and stamps are printed using photogravure.
This video gives you a brief idea of how quickly the material that is being printed goes through the different go coloured rollers that are combining to complete the image:
There is a video here that goes into further depth about Gravure printing:
http://www.bbc.co.uk/learningzone/clips/printing-magazines/6058.html
- 13-14 Million magazines produced a week by one factory that are using Gravure printing


- As well as magazines, Gravure is used for some products that require very high print runs such as money and stamps.
-Flexography-

Like Litho and gravure, flex is a 'web fed' process which means they print on large rolls of stock. Flexo can print around 350ft of material per minute. Similar to Litho the image is transferred onto a printing plate, this time it it made of a rubber polymer and the image works due to a photo sensitive surface. This plate is then wrapped around a cylinder and secured in place. USing a rubber surface allows the cylinders to have more grip on the material that they are printing onto, which suits well for printing glossy, thin and filmy labels that you find on drinks bottles or the foil material used for crisp packets.
Typical products printed using flexography:
- Corrugated boxes
- Shopping bags
- Food bags
- Milk and drink cartons
- Dispodable cups
- Flexible Plastics


-Digital Print-
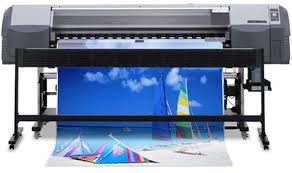
Digital Printing is the most common form of household printing. Most digital printers use CMYK ink, with some high quality photo printers adding additional inks to increase the potential printable colour gamut. When printing mock ups or very short runs then digital printing will be the most cost effective and time saving.
Digital printing removes the need for printing plates and allows anybody access to quick and easy printouts.
There are two types of digital printing, laser and inkjet, inkjet printing produces much higher quality results, especially if used with quality, glossy stock.

-Screen Printing-

Screen printing works by forcing paint through a mesh onto stock/ material.
A light sensitive emulsion is applied to a clear screen and left to dry. The design that you want printing need to be digitally printed or drawn onto transparent or very translucent paper, this is then placed on the screen and exposed in a light box for about 2 minutes. The light dries the paint that isn't covered by your design, the screen is then washed out, getting rid of the non-set paint that is your design and leaving the mesh blocked where you don't want paint to get through.
This screen can then be used with paint, binder and a squeegee to push the paint through the mesh onto your stock. After using the screen you need to wash it out thoroughly and leave it in a drying cupboard for around an hour before using again.
Screen printing is effective for doing runs of 50-100 as you can get through them quickly, however it is time consuming and there is potential for each copy to vary slightly.
Things to look out for when screen printing:
- Make sure your designs aren't too close to the edge of the screen as this part of the mesh is tighter and harder to push down onto the stock
- Make sure your work area is spotless as it is easy to get dirty hands or put your work in a rogue bit of spilt paint
- Make sure that there are no gaps in the exposed screen that you don't want, you can cover these with screen filler or parcel tape
- Don't try to rush screen printing as this will cause the quality of your prints to deteriorate
- Be aware that a lot of time is spent cleaning the screens and equipment during the screen print process.
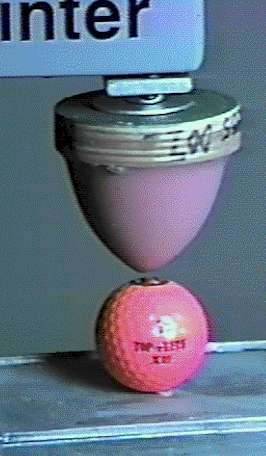
-Pad Printing-

The image is etched into a metal plate, that plate is then covered in ink and the ink only takes in the places where it needs to. The flexible pad is then pressed onto the ink and takes the image onto its surface. Then the pad is pressed onto the 3d object that is to be printed and transfers the ink to the surface of the product, moulding around any contours that the product may have. For multiple colours multiple pads need to be used-as can be seen at the end of the video:
Applications for pad printing:
- Pens
- lighters
- golf balls
- Keyboards
- Keyrings

ARTWORK
Print marks

A: Start Target B: Label C: Registration Marks D: Black Overprint Colour bar E: Crop mark F:Gradient tint bar G: Progressive Colour Bar
Start Targets and, more commonly Registration marks are used by the Printers to align the different colour seperations.
Crop marks are there to make cutting the printed area out neatly
Spellcheck


PreFlight Check
A Pre Flight Check or Pre-Flighting is a feature that you can use to check that all files are linked and present, that all the colours are correct and all typefaces are embedded to make sure that there are no problems when you send the document to print, which would result in wasted time, extra cost or a poor product.
Proof
A Proof in printing is used to give you an idea of if what you have on screen is going to work/ look the same when it is sent to print. You can use Adobe features to 'Proof Colours' to make sure that none of your chosen colours lie outside of the CMYK colour gamut, you could also print a physical proof on a printer to get more of an idea of what the colours may turn out like if your monitor has not been colour synced properly.
Sign off
Signing off is used when dealing with clients to make them commit to the design and remove the possibility of them changing their minds after a print job has already been printed. This involves making the client physically sign the intended proof copy of a design before sending it to print.
Fonts
Before sending your files to print, first you should print a cheap copy of the document to ensure all type is large enough to read (considering the age of people who will be reading it). If the design is okay, you must then make sure that you either create outlines from all the type in the document or you supply the relevant fonts in a folder alongside the documents that you are getting printed.
Finishing
Foil blocking
Foil blocking is a process that uses a sheet of foil, a hot stamp and a lot of pressure.
Foiling can be expensive and often quite difficult if trying to do yourself on a low budget but, when done properly it produces some really good results:

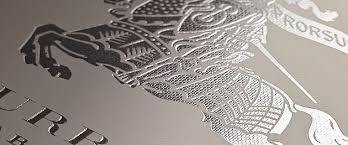
Also, foiling is not just limited to paper and card:
<
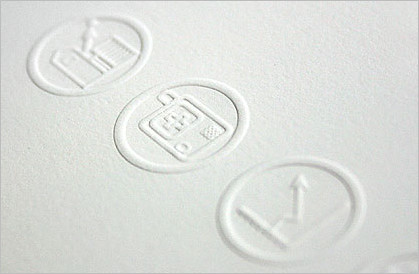
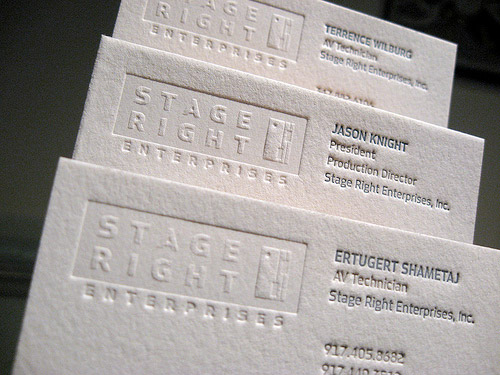
Embossing/ De-bossing
Embossing and de-bossing is almost the same process, except with embossing the type/image is raised and with de-bossing it is pushed into the paper. It is made by creating a wooden or metal 3D mould of what you want embossing, this is then clamped into the paper creating a 3D impression directly into the stock. Thicker weights of stock and more absorbent stocks work best with this process.

Spot Varnish
Spot Varnishes can be specified when sending a product to be printed lithographically, this is done by using a swatch titled 'spot varnish' and clear communication with the printer of what you want.
Spot varnishes give a very professional and neat finish to a product:


Binding
There are a wide variety of binding techniques available for book binding.
http://www.cucocreative.co.uk/articles/binding-techniques/
Folding
http://www.cucocreative.co.uk/articles/folding-techniques/
No comments:
Post a Comment